


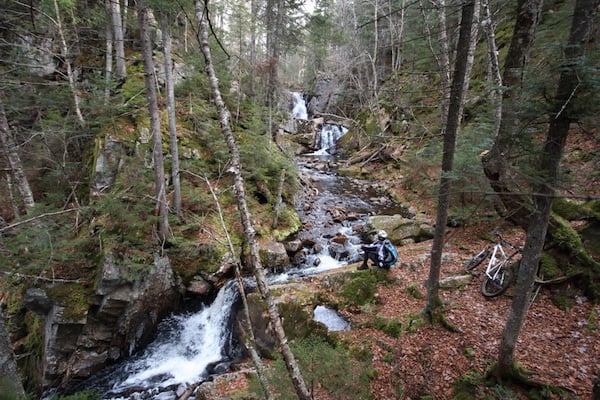
For many cyclists, autumn is the best season for mountain biking. Heatwave days have given way to more temperate temperatures, conducive to intense effort. Mosquitoes have stopped harassing cyclists by swirling around them during breaks, and there seems to be a little less traffic on the trails. The trees have begun to shed their bright hues, perfuming the air with a fragrance that brings back memories of childhood.
Autumn: the perfect season for mountain biking
For many cyclists, autumn is the best season for mountain biking. Find out more about recommended equipment, trail riding and bike maintenance.
As a general rule, it is not recommended to ride on soft or muddy trails, as this increases erosion and the workload of trail crews and volunteers. Many sites advise when trails are closed.
However, it is possible, if not almost inevitable, that you will come across mud in certain sections. In this case, it's best to ride through it rather than around it, which would widen the trail.
Although the activity itself remains virtually unchanged, there are a few things to bear in mind if you want to ensure a great day out.
Equipment
Tires
On the bike, pay particular attention to the tires. Trails, no matter how well designed, sometimes contain a bit of mud, so you'll need slightly more aggressive tires (more studs or larger studs, without going overboard) that will offer superior traction on wet terrain as well as in corners. If you don't change your tires, remember to adapt your driving style on slopes and curves! Don't forget that, no matter how good the tires, none of them can guarantee optimum traction on a bed of dead leaves!
Mudguard
Some add a mudguard to the front or rear of the bike. These are optional, and their main purpose is to protect the eyes from mud thrown up by the tires, which can cause loss of attention or vision in the middle of a ride. Protective eyewear is recommended at all times, and in most situations can replace the mudguard.
Clothing
In autumn, temperature differences are greater at different times of the day, and are further affected by the shade and humidity in the forest. Make sure you have layers of clothing that allow you to adjust your protection according to the length of your hike. If in doubt, don't hesitate to ask friends and followers, or store staff. Remember, everyone has their own recipes, and the most important thing is to feel comfortable.
The most important thing is to cover the extremities (head, hands, feet) and then go for your own preferences for the rest of the body. Carry options in your backpack, especially on long outings.
Also, as night falls quickly, it's a good idea to wear bright colors to help your compatriots see you... and avoid you!
Driving
As mentioned in the section on tires, you'll need to adapt your driving to slippery or unstable terrain. Here are a few situations where you'll need to be particularly alert:
Curves
Whether on a flat or banked bend (berm), adapt your driving when conditions are less than optimal, whether due to rain, mud or leaves. Reduce your speed as you approach a bend, and avoid sudden changes of direction or heavy braking.
Braking and slippery surfaces
In any conditions where traction doesn't seem optimal, don't brake too hard to avoid skidding. Remember, too, that the consequences of the front wheel skidding are undoubtedly greater than the rear - so shift your weight accordingly.
Wooden bridges, roots and rocks may be more slippery than in summer, when they are covered with mud, water, dew and leaves. Be careful not to make any sudden movements or apply the brakes too hard to avoid skidding and falling.
Safety first
On some trails, leaves are raked or blown away, on others, not. When the trail is smeared with leaves, you often can't see the obstacles it conceals. That's when you need to be extra careful!
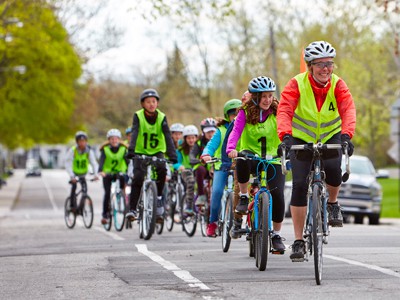
At all times, it is advisable to use the trails in groups of at least two or more people. This is even truer if your outing is likely to end after dark. Also, let someone know your itinerary and schedule... and don't forget to let them know when you're back!
lighting required
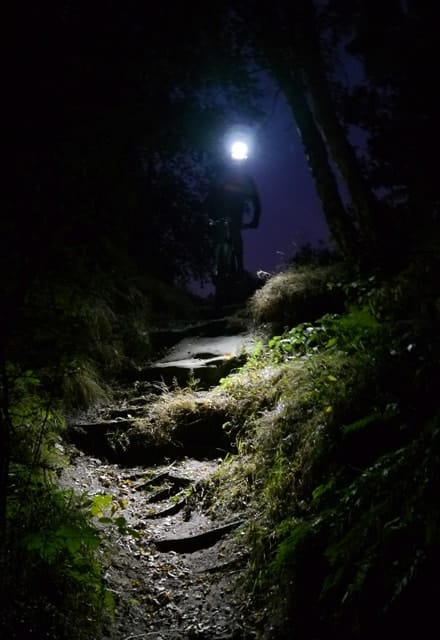
Driving at night
As the days get shorter and shorter, you may be forced to resort to lighting in order to make or end your ride safely. It's also likely that you'll discover a whole new experience: riding in total darkness is a surreal experience that many people enjoy from the very first time. The beam pattern of lighting systems is often quite sharp, which creates a tunnel effect by limiting peripheral vision.
We then focus our attention on the trail ahead and try to guess what's in front of the illuminated area. The loss of vision due to the narrowing of peripheral vision, combined with the limited range of the lighting, gives the impression that you're riding faster and makes negotiating winding paths and curves more difficult, thus artificially increasing the trail's level of difficulty.
Also, the orientation of the lighting can help hide certain irregularities in the trail. For example, a steep slope, as well as areas behind rocks or obstacles, will be hidden from view. hidden because the light will be masked by the obstacle. It's a good idea to adopt a neutral position (elbows and knees bent, forearms relaxed but with a firm grip on the handlebars) on the bike and to stay on the lookout, so as to have enough room to manoeuvre quickly to get over an obstacle that has appeared at the last minute.
For all these reasons, we suggest riding trails of a less difficult calibre than those you would tackle during the day.
Lighting
One thing you need to know about lighting: choose a main lamp with sufficient wattage. See the VéloMag test of some lighting models, made in 2013. Bear in mind that the faster you drive, the more powerful the lighting you'll need to compensate. A capacity exceeding 500 lumens, especially when using a single lamp, is strongly recommended.
Front light
We prefer a helmet-mounted light, as it follows the rider's gaze at all times, whereas a handlebar-mounted light illuminates straight ahead. Also, if it's impossible to attach the light to the center of the handlebars (directly to the stem), there's bound to be one side where the angle of the light is reduced, so turns on that side will be in the dark, which can be annoying.
Some people, however, go so far as to install a light on the handlebars to illuminate the trail, and one on the helmet so they can see further around corners. For the handlebar-mounted model, make sure it's firmly attached, as the vibrations of the trail will soon displace it - leaving you temporarily blind.
Some systems have built-in batteries, others have rechargeable battery packs that are connected by a power cable and can be attached to the bike frame or placed in the backpack. In the latter case, pay particular attention to the power cable so that it doesn't impede your movements or risk becoming disconnected.
Rear light
A red light, mounted on the seatpost, will help the rider behind you to locate you and avoid contact between his front wheel and your rear wheel. A basic, lightweight and inexpensive model will do the trick. Your companion will thank you for not using an overly powerful model, which could dazzle him and impair his riding.
Emergency fire
As anything can happen, make sure you have a spare light, in case the battery on your main light runs out. A wrong choice at an intersection can mean a long detour on the trails, and under the forest canopy, the moon won't be much use to you once your batteries run out!

It is possible to add suspension protectors, although enthusiasts are divided on their usefulness. However, they are no substitute for a thorough wash.
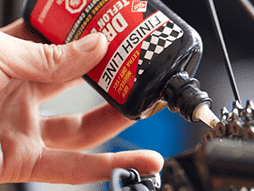
Bike maintenance
Despite all your precautions, you may have fallen through a few mud puddles on your outing, and no one will hold it against you. So it's a good idea to know how to look after your bike, either on the spot or when you get home.
During the outing
Mud can cause damage to the bike's moving parts (suspension, brakes, transmission). We recommend removing most of it when possible. A concentrated spray from a water can is the best way to proceed during the ride, and will reduce wear due to friction if mud has accumulated on moving parts, particularly the cassette, brakes and suspension.
After release
Several techniques are used to clean muddy bikes:
- Use bike wash facilities at trail entrances, where available (and always in operation).
- Allow mud to dry and remove with brushes and rags
- Using a pressure washer
- Use specialized cleaning products
To prevent mud from entering where it's not welcome, avoid directing pressure washer jets or applying direct pressure (with a brush or cloth) to suspension seals. To prevent contaminants from penetrating the barrier they represent, it's advisable to take it easy. This will reduce the impact of washing your bike. Don't forget to lubricate any parts that need it after washing.
It is possible to add suspension protectors, although enthusiasts are divided on their usefulness. However, they are no substitute for a thorough wash.
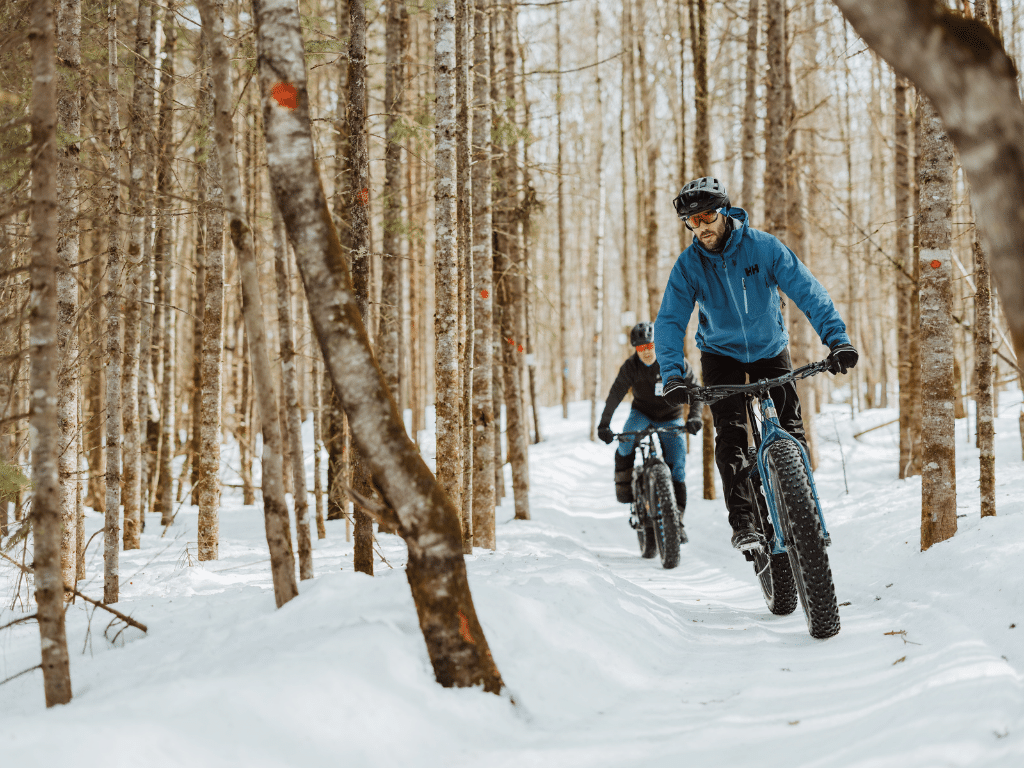
Freezing and thawing trails
Some enthusiasts even dare to ride until the first snow, as the character of the woodlands changes with time. For these riders, a few warnings are in order, so that no one suffers from their tenacity!
It's not a good idea to ride the trails after the first frost. When frost sets in, trails are often waterlogged. The ground looks hard, but in reality it's only frozen on the surface and is still soft and vulnerable. Driving in these conditions can create ruts and bring up water, causing damage to the running surface. These ruts, after drying out, will cause headaches for maintenance crews. Even a fatbike will have an impact on this type of soil - so take advantage of these days to maintain the trails!
Consult the Responsible practice guide for more tips on trail riding, and enjoy the ride!
All rights reserved 2026
Vélo Québec
Conception de sites web : PAR Design, Agence Web