


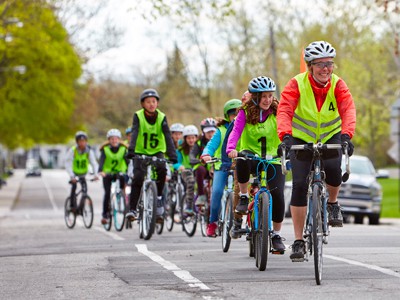


The draisienne method
To teach a child or adult to ride a bike, There's no need to run alongside him holding his bike by the saddle: temporarily transform his bike by removing the pedals and teach him the draisienne method instead!
This method, which involves learning to ride without pedals, is extremely effective in taming the bike, as it breaks down the skills required by focusing first on mastering balance in motion. Once the apprentice cyclist has acquired this essential skill, all he or she needs to do is learn to pedal to propel himself or herself, and that's it!
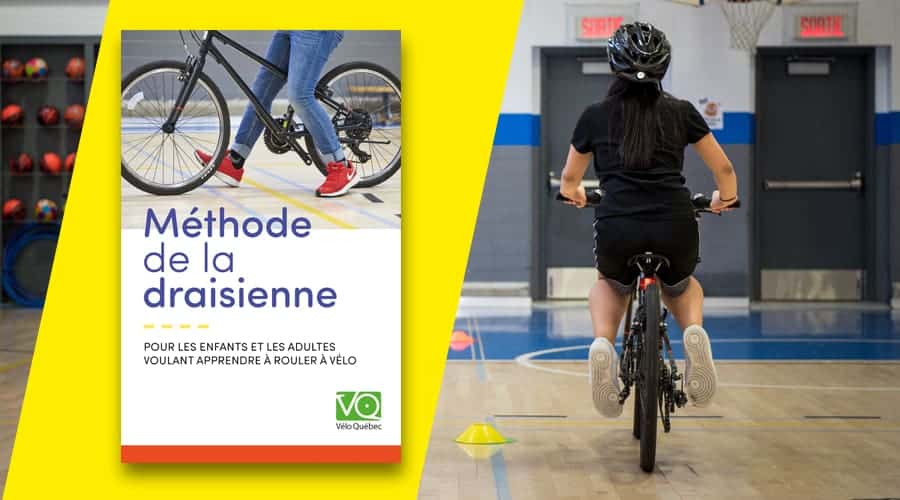
The draisienne method
for children and adults who want to learn to ride a bike
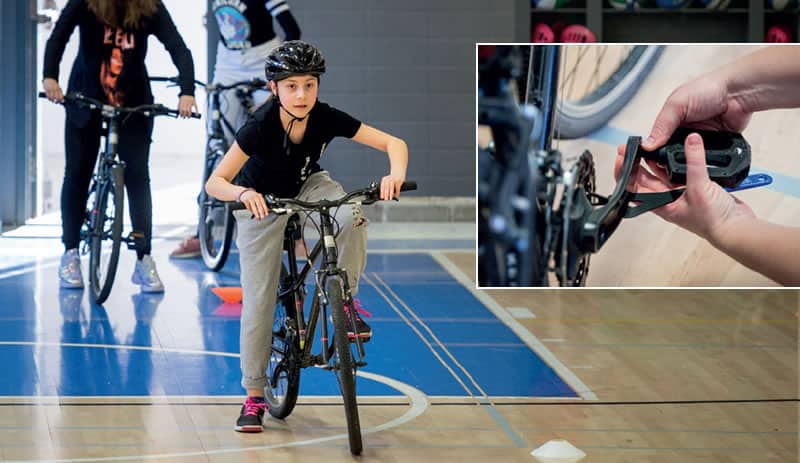
STEP 1 - Transforming the bike into a draisienne
Turning a bike into a draisienne is easy: just remove the pedals and, if necessary, lower the saddle so that the apprentice cyclist can easily put both feet flat on the ground.
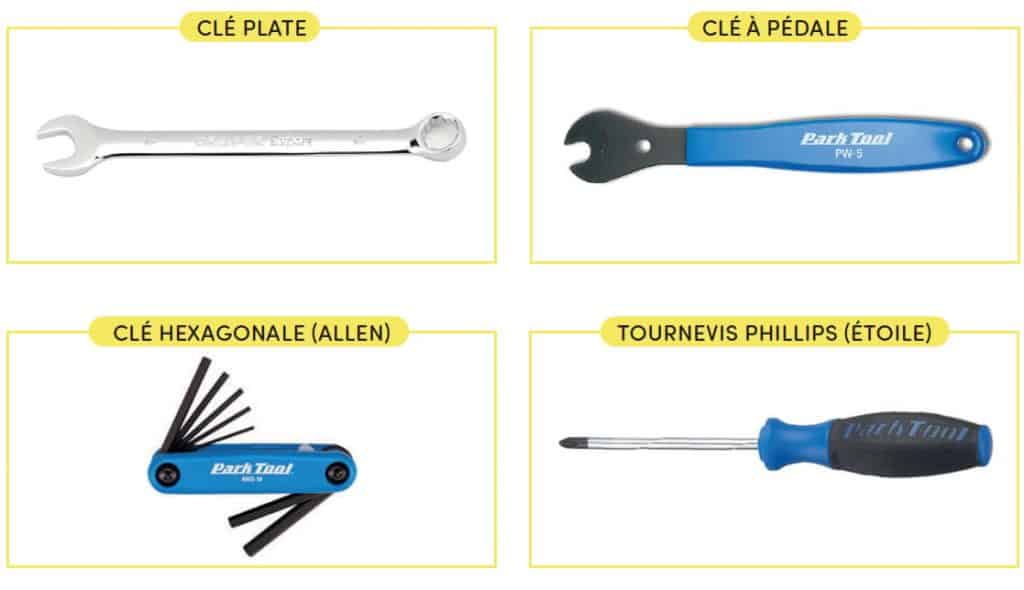
Materials and instructions
Equipment required
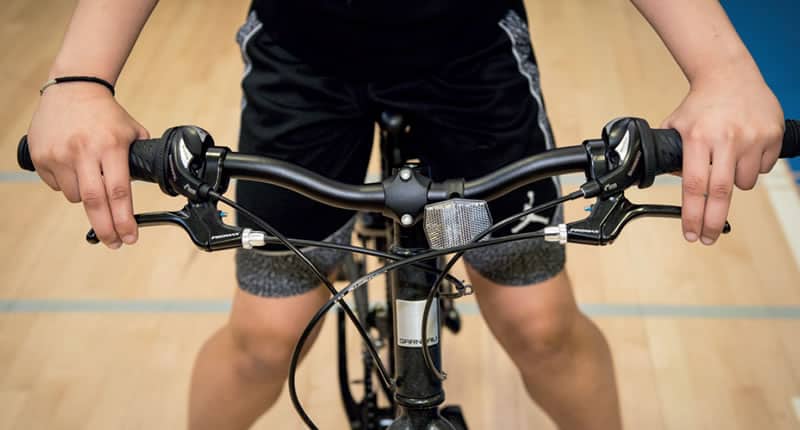
To remove the pedals :
- 15 mm metric wrench or pedal wrench
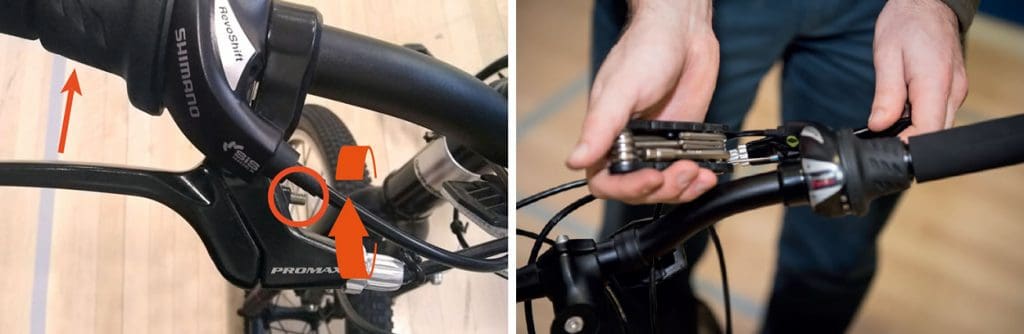
To lower the saddle and adjust the brake levers :
- 13 mm metric wrench
- Allen key or Phillips screwdriver (star)
ATTENTION Right and left pedals have different screwing and unscrewing directions!
Instruction 1
Remove pedals
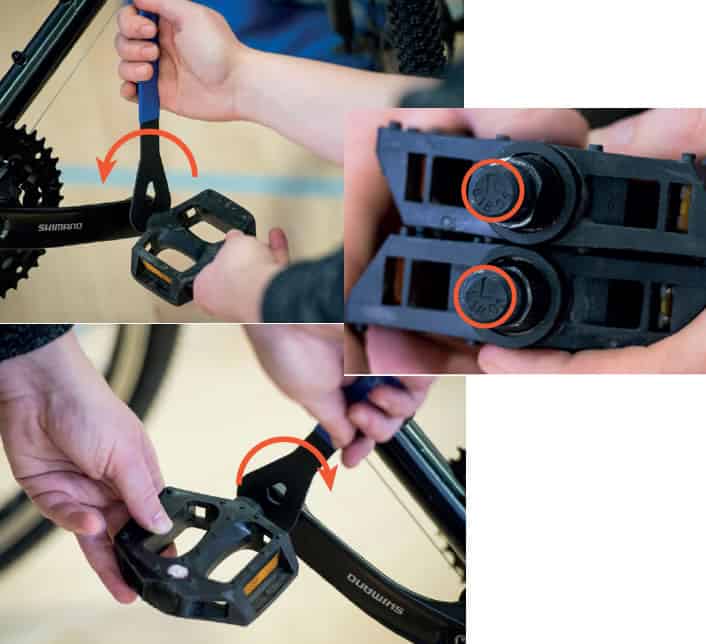
1. Position the 15 mm wrench or pedal wrench between the pedal and the pedal arm.
2. Unscrew the right-hand pedal by turning the key anticlockwise.
3. Unscrew the left pedal by turning the key clockwise.
ATTENTION It's important to put the right pedal on the right side: the pedal marked with the letter R (for right) goes on the side of the right foot and the pedal marked with the letter L (for left) goes on the side of the left foot.
Instruction 2
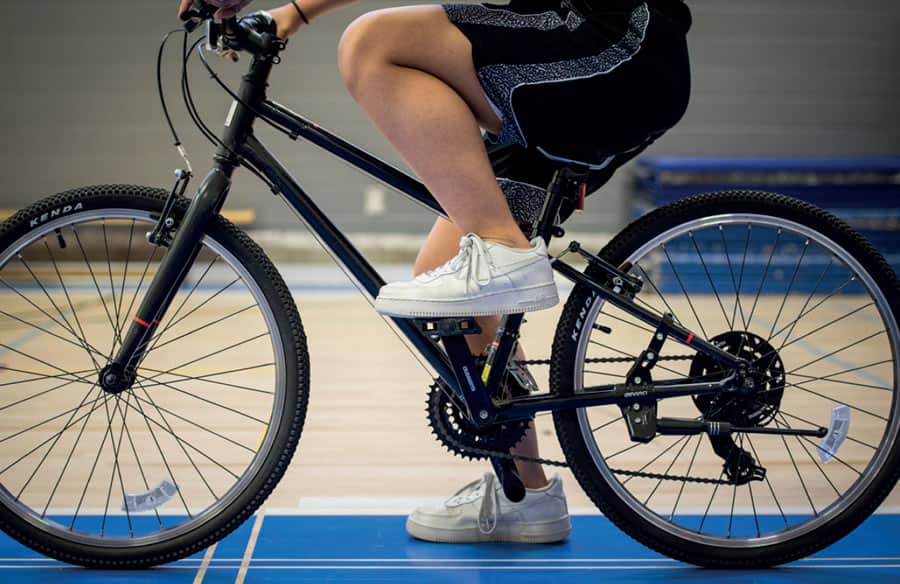
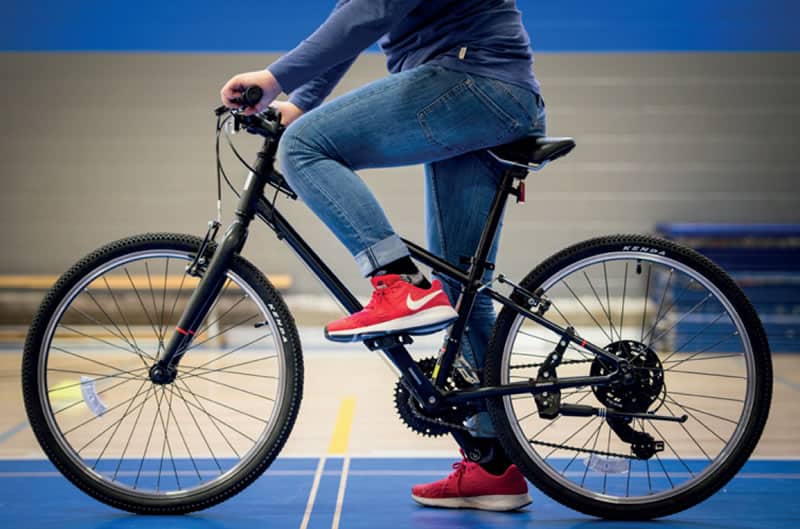
Check saddle height and lower if necessary
The learner must be able to touch the ground easily with both feet. If the height of the saddle does not allow this, it must be lowered using the 13 mm wrench.
Instruction 3
Make sure brake lever adjustment is appropriate for hand size
If the brake levers are too far from the handles, the learner will not be able to operate the brakes.
To bring the lever closer to the handle, screw in the screw on the brake lever using a Phillips screwdriver or hexagonal key.
N.B. This step is particularly important if the learner is a child, as his/her hands are smaller.
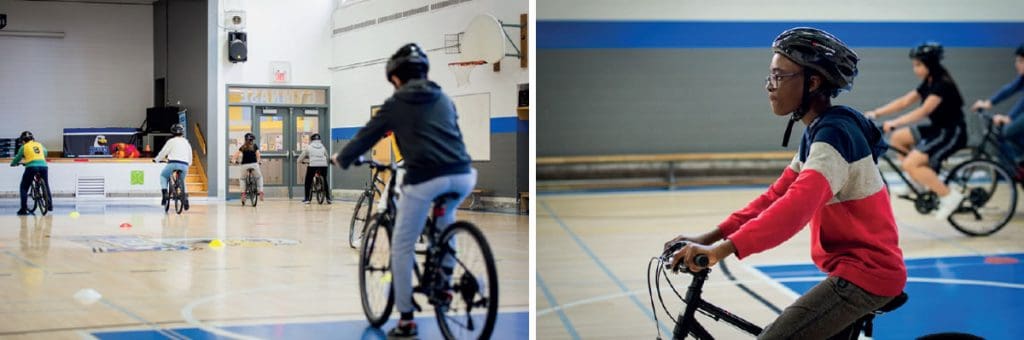
STEP 2 - Tame the bike
To help learner cyclists familiarize themselves with their bikes and observe how a bicycle behaves, suggest the following exercises, alternating between moving and stationary exercises.
TIP To energize the session, use these exercises in the form of a «Jean dit» or «imitate the conductor» game.
Exercises
*These exercises should be performed in the order presented, as they gradually lead the learner to mastery of the bike.
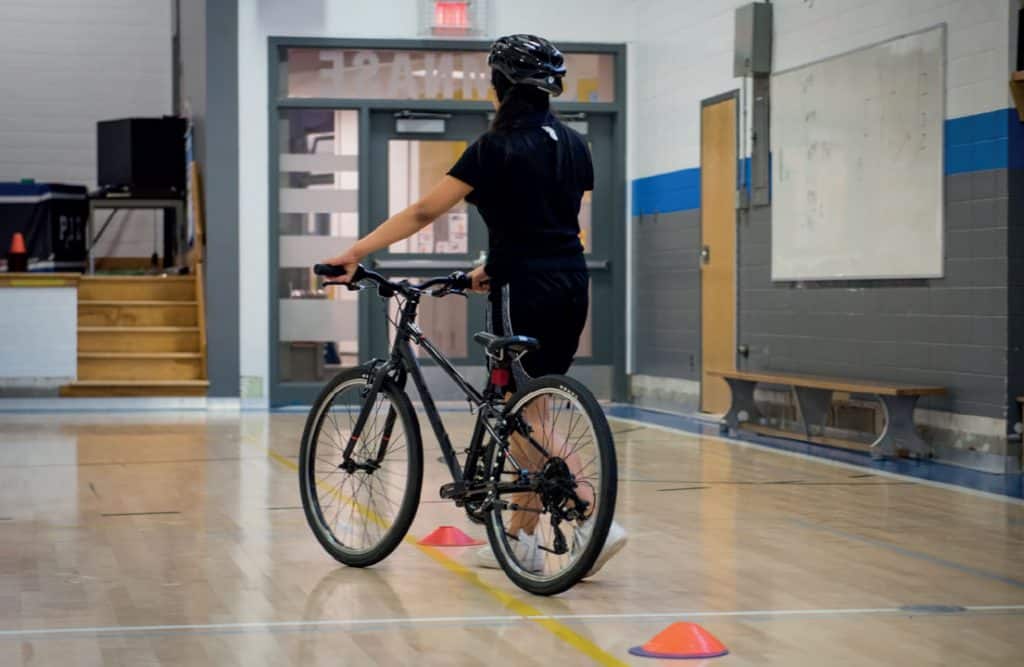
Exercises in motion
1. Walk beside the bike, holding it by the handlebars with both hands.
2. Walk beside the bike with one hand on the handlebars and one hand on the saddle.
3. Walk beside the bike, holding it by the saddle only (this will allow you to see how the bike behaves when the handlebars are turned).
To add difficulty to these exercises For example, have them follow a line or path; add obstacles to avoid; have them walk on uneven or uneven ground.
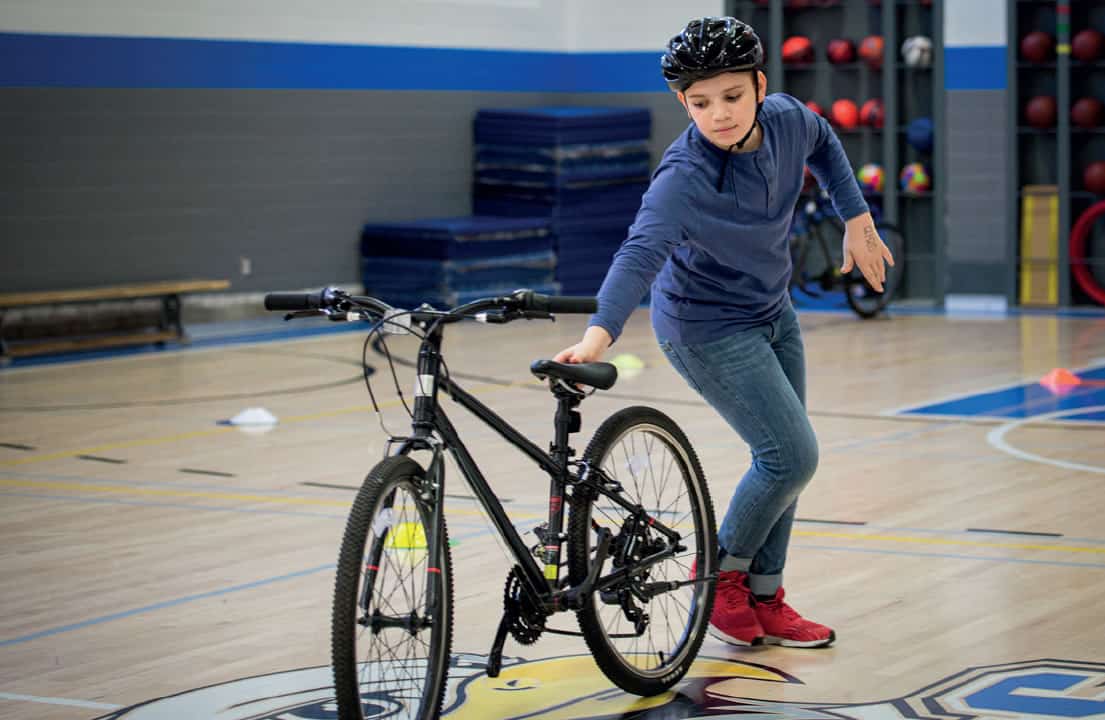
Stationary exercises
1. Ride around the bike, from the back and then from the front, keeping it upright.
2. If the bike has a stand: practice putting the bike on and taking it off. *Remember to show how to turn the pedal when it blocks the stand.
3. Put the bike down on the ground and then stand it up, remaining on the same side of the bike. * It's important to teach people to always put the bike down on the left side to avoid damaging the derailleur.
4. Place the bike on the ground, then raise it by positioning yourself on the other side of the bike.
5. Place the bike against a wall, tree or fence and make sure it doesn't fall off.
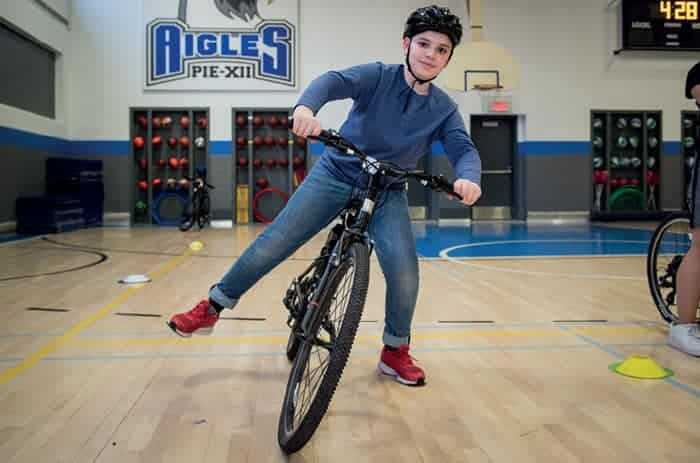
STEP 3 - Mastering balance in motion
To help the learner cyclist balance on the bike, suggest the following exercises, which will gradually lead his or her body to understand the dynamics of maintaining balance on a moving bike.
IMPORTANT Make sure the space is large enough to allow the apprentice cyclist to cover good distances in a straight line, and that you can create practice lanes.
TIP Remind them not to look at their feet, but rather at a point far ahead.
Exercises
* These exercises should be performed in the order presented, as they gradually lead the learner to mastery of the bike.
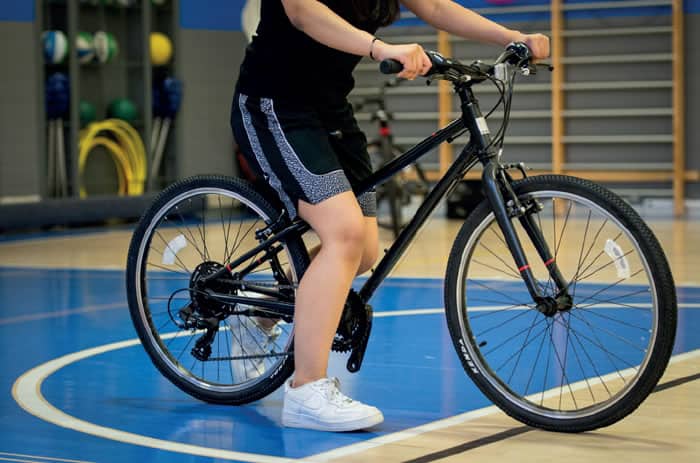
1. Climb into the saddle with your leg over the rear wheel.
* Make sure the saddle is low enough to allow both feet to touch the ground easily. The learner should be able to keep both feet flat on the ground, with a slight bend in the knee.
2. From a standstill, sitting on the saddle, switch from supporting one leg to supporting the other, several times.
3. Propel the bike forward with small steps.
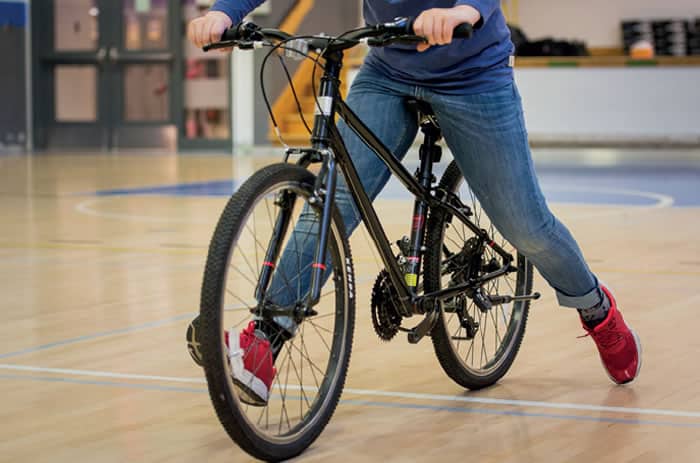
4. Take larger and larger steps to propel yourself.
5. Keep your hands on the brakes and learn to stop smoothly and gradually.
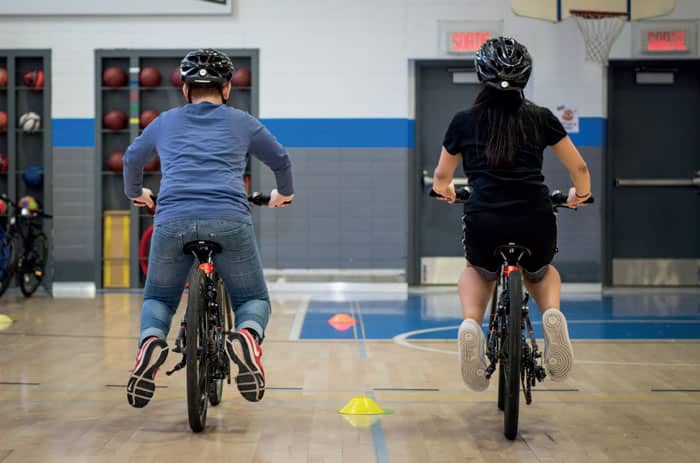
6. Giving yourself a good initial push, lift both feet off the ground simultaneously and keep going.
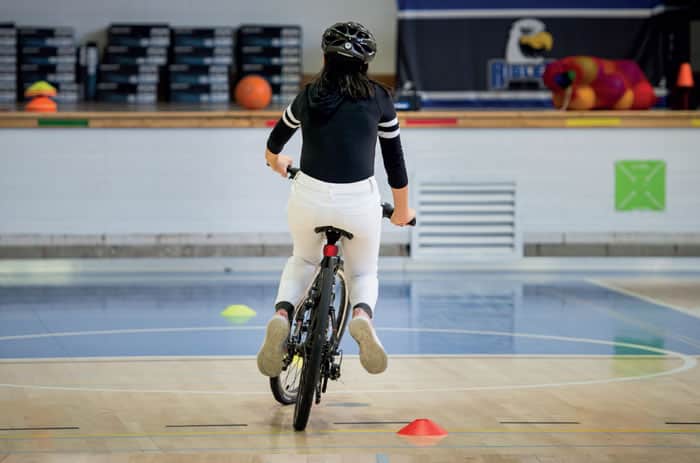
7. Turn, avoid obstacles, take various trajectories.
STEP 4 - Learning to pedal
Once the apprentice cyclist feels comfortable, is able to keep his or her balance and has mastered the bike and its trajectory, he or she is ready to move on to the next stage: learning to pedal.
TIPS Throughout the exercises, remind the apprentice cyclist NOT TO LOOK AT HIS FEET, but rather to look far ahead. Repeat this as often as necessary. Explain that the bike will automatically go where you look, and that this helps maintain balance.
Exercises
Learn to propel yourself with just one foot
IMPORTANT Before starting, reinstall a single pedal on the bike, according to the learner's preference. *To find out how to reinstall the pedals, refer to the instructions in step 1.
1. Place one foot on the pedal, then propel yourself with the other foot and keep your balance as long as possible, without moving the pedals.
Repeat this exercise until the rider feels comfortable and seems to have mastered starting and stopping. * It's normal for the learner to try to pedal even if there's only one pedal on the bike. At this stage, you should emphasize the importance of starting and stopping without pedaling.
Learn to start and pedal
IMPORTANT Before starting, reinstall the other pedal. *To find out how to reinstall the pedals, refer to the instructions in step 1.
Show the cyclist the direction of pedal rotation. Explain that it's important not to try to pedal in the opposite direction, as some bikes have coaster brakes.
1. Getting started
a) Apply the brakes and put your right foot on the ground. * It's important to teach him to keep his right foot on the ground, since the sidewalk will be on his right when he rides his bike.
b) Using your left foot, raise the left pedal to 11 o'clock.
c) Release the brakes and push on the left foot simultaneously. * Remind him to look far ahead to maintain his balance.
2. Alternate several times between starting in this way and braking with both hands.
* Encourage the learner to use only two fingers (forefinger and middle finger) on the brake levers, to get a good grip on the handlebars.
3. Fine-tune braking so that it becomes more progressive and efficient and safe.
Good braking is achieved with 1/3 pressure on the rear brake (right brake) and 2/3 on the front brake (left brake).
Explain that for emergency braking, you need to carry your weight slightly to the rear.
STEP 5 - Gaining height and perfecting your skills
Once the learner is comfortable pedaling, it's time to gradually raise the saddle so he can learn to pedal at the right height. This can be done in several stages, depending on his or her level of comfort.
Step 1
Pedal efficiently and avoid knee injuries
Explain that the ideal position, to pedal efficiently and avoid knee injuries, is as follows:
Sitting on the saddle, with the pedal at its lowest point:
- if the heel is placed on the pedal, the knee should not be bent;
- if the forefoot is placed on the pedal, the knee should be slightly bent.
* This position means that only the tips of the feet touch the ground when sitting on the saddle.
To enable the apprentice cyclist to reach this position, the saddle needs to be raised gradually, so that he or she gets used to it and feels comfortable when his or her feet are no longer touching the ground.
Step 2
Learn to start without sitting
When the saddle is too high for the apprentice cyclist to ride stay in the saddle when stationary, teach him to start without sitting:
- Apply the brakes and place the right foot on the ground.
- Using your left foot, raise the left pedal to 11 o'clock.
- Simultaneously release the brakes, push down on the left foot and climb into the saddle.
All rights reserved 2026
Vélo Québec
Conception de sites web : PAR Design, Agence Web